



Published May 25, 2026 08:08AM
If you’ve been feeling incredibly tired or exhausted, whether for the last several hours or as long as you can recall, you need to try yin yoga. It’s a less-intense style of yoga that asks you to do less. To not push yourself for a change. To give your nervous system a rest. The following yin yoga practice in particular is designed specifically for when you’re too fatigued to move. Every single pose is done lying down, and yes, you can do the entire practice in bed.
The poses are supported so you can practice finding stillness and a steady breath rhythm. The more you practice these two things, the more readily your body will come back to them at other points in your life. There’s also an extended Savasana at the end, although you can also simply tune out and let the last pose take you into sleep.
30-Minute Yin Yoga for Exhaustion
The idea behind yin yoga is that you remain still for several minutes in each pose. So you’ll be in each of the poses for 3 ½ to 4 minutes each. I talk enough to share instructions on how to get into the pose, and then I’ll leave you in silence so you can bring your focus inward and find space to rest.
It helps to have props of some sort for this class. I’m using a bolster to bring a little more comfort to the poses, although if you don’t have a bolster, you can reach for some couch cushions or bed pillows that you can easily stack to give you a lot of support. And each pose can also be done unsupported and fully flat without any props.
Supported Fish Pose
 (Photo: Yoga With Kassandra)
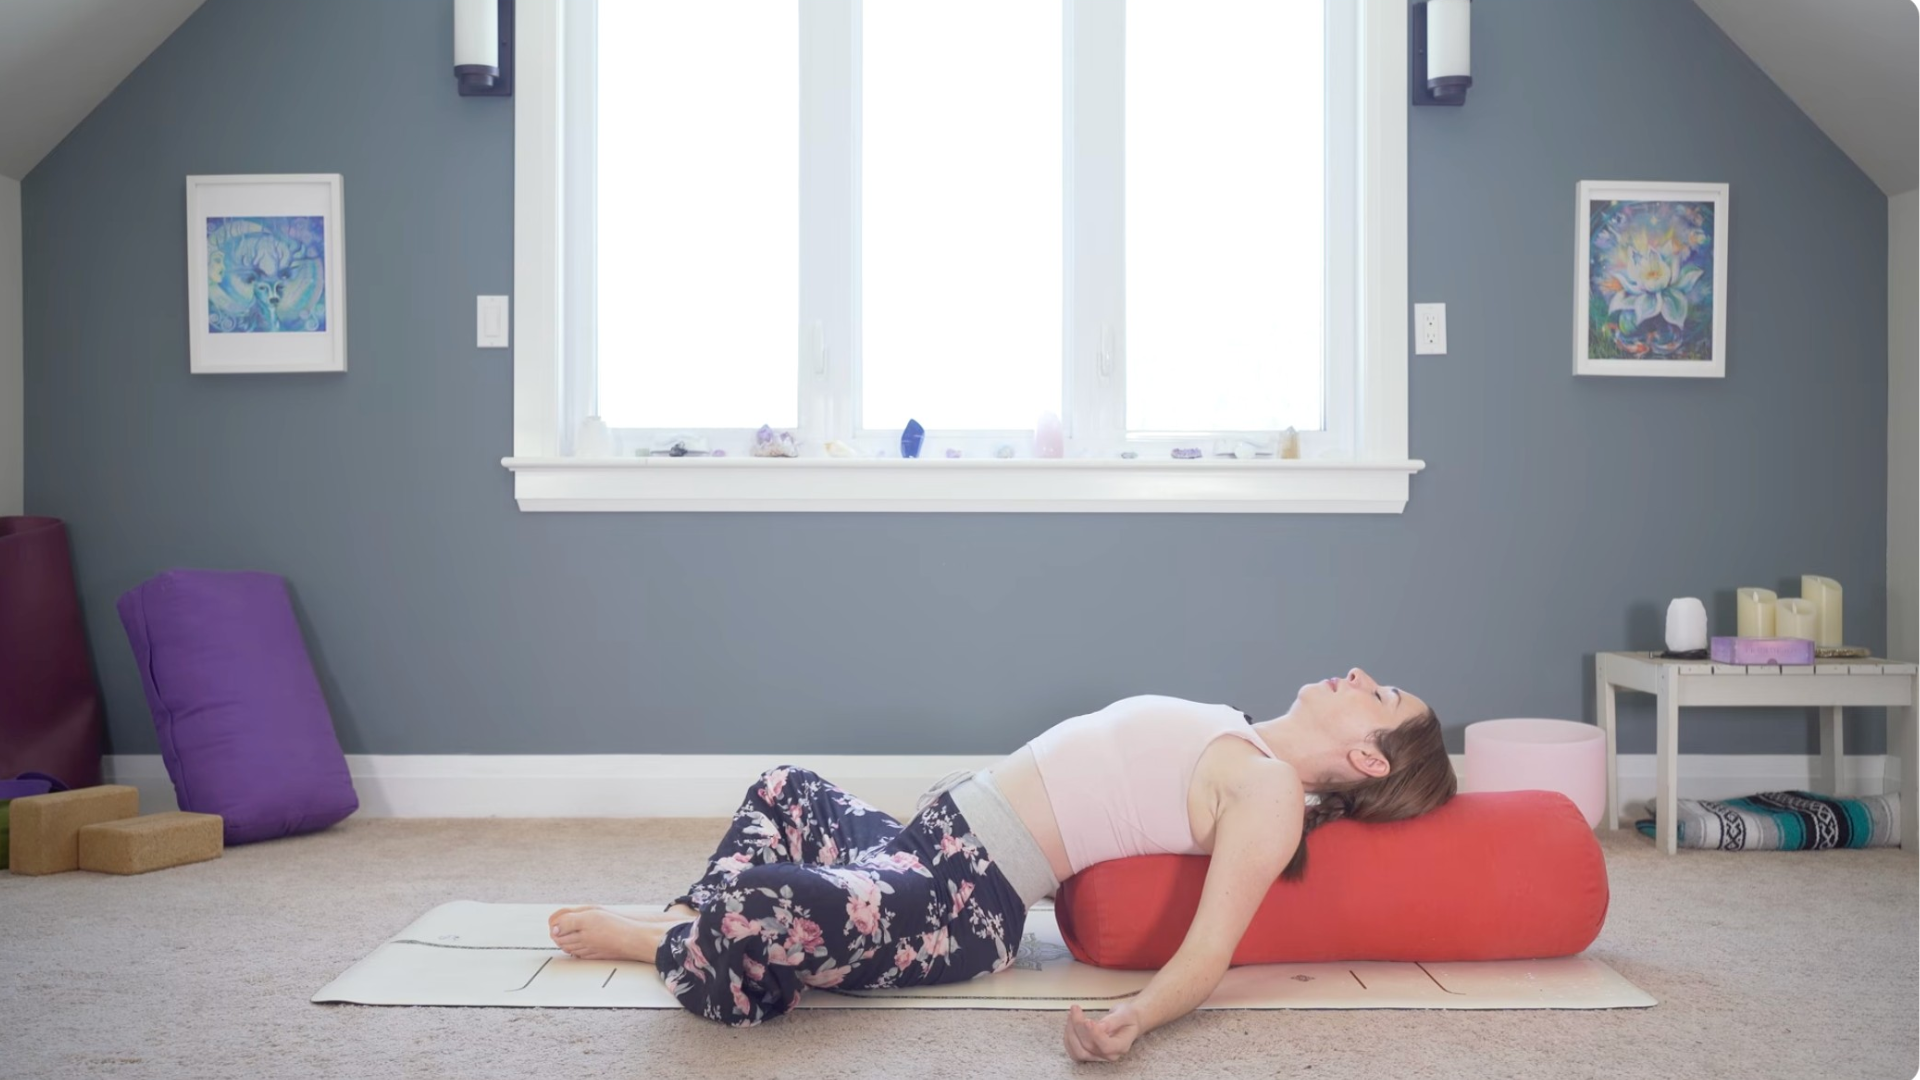
Arrange your bolster, stacked bed pillows, folded blankets, or whatever you have on hand for props lengthwise along the center of the mat. The props will support your mid back, upper back, and the back of your head. Sit facing away from the props and slowly lower yourself onto the props in Supported Fish Pose. Take the first 10 breaths or so in each pose to make whatever little movements or adjustments to the props so everything feels comfortable for you. If your lower back feels any strain, make your stack of props lower so there’s less arch in your back.
Keep your feet on the mat, extend your legs straight in front of you with your feet wider than your hips, or bring the bottoms of your feet together to touch and let your knees fall away from each other. Let your shoulders sink down into the support so there’s an opening across your chest.
Then let yourself settle into breathing in and out through your nose. Feel an expansion through your chest, sides, and back body every time you inhale, and then feel the release as you exhale. Stay here with your breath for at least 3 minutes.
We’ll start to ease our way out of this pose. If you had this butterfly shape with the legs might feel good. Just to straighten, I’m going to stretch my arms up overhead, lengthening fingers away from the toes, and we’ll lift ourselves off of the props.
Supported Bridge Pose
 (Photo: Yoga With Kassandra)
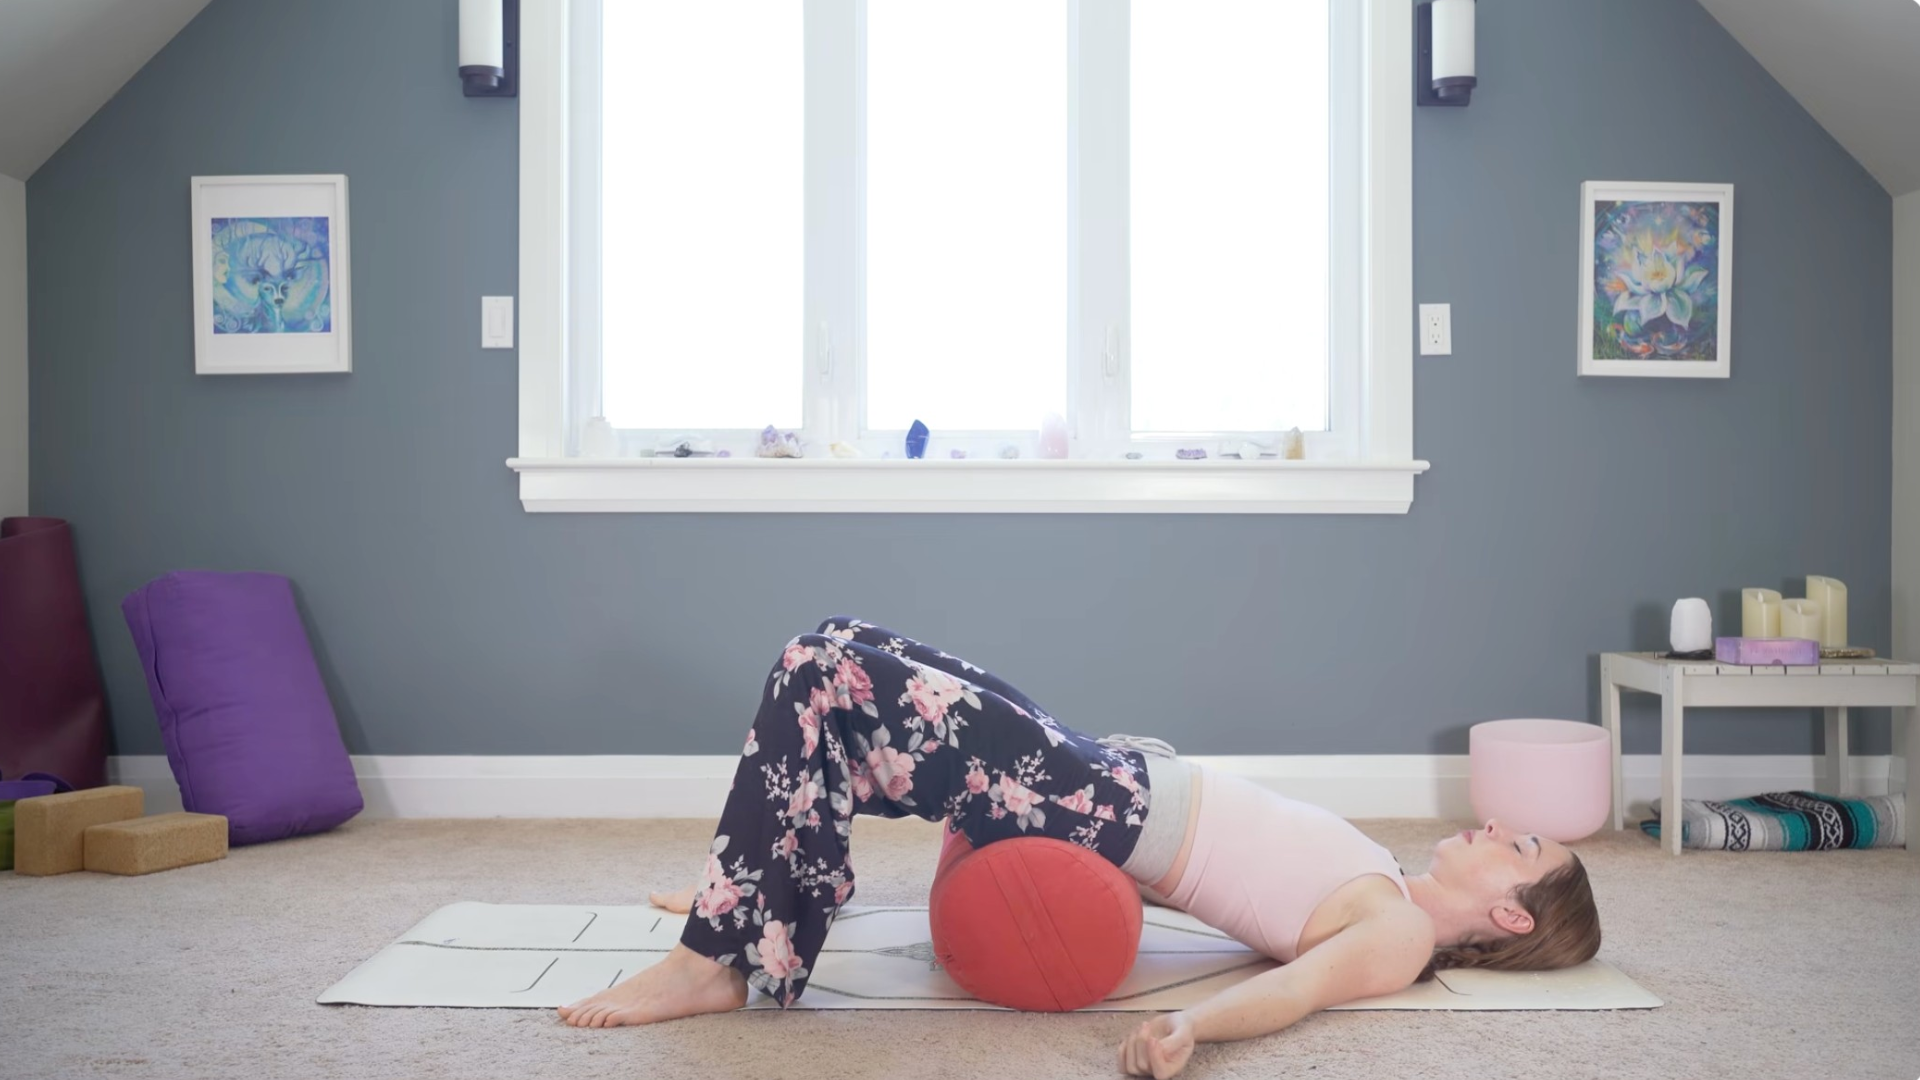
Lie down flat on your back with your knees bent and your feet flat on the mat. Lift your hips and bring the bolster or stacked pillows underneath your hips and sacrum in Supported Bridge. You want to make sure that you’re not jamming the props too high beneath your lower back. Your hips should be slightly higher than your shoulders in a not-too-intense inversion. If you feel any discomfort, lower the stack of props.
Stay here or try slowly straightening your legs. You can also play around with where you place your arms. Take a few breaths here to find something that’s comfortable. Then settle into your breath.
Knees to Chest or Waterfall
 (Photo: Yoga With Kassandra)
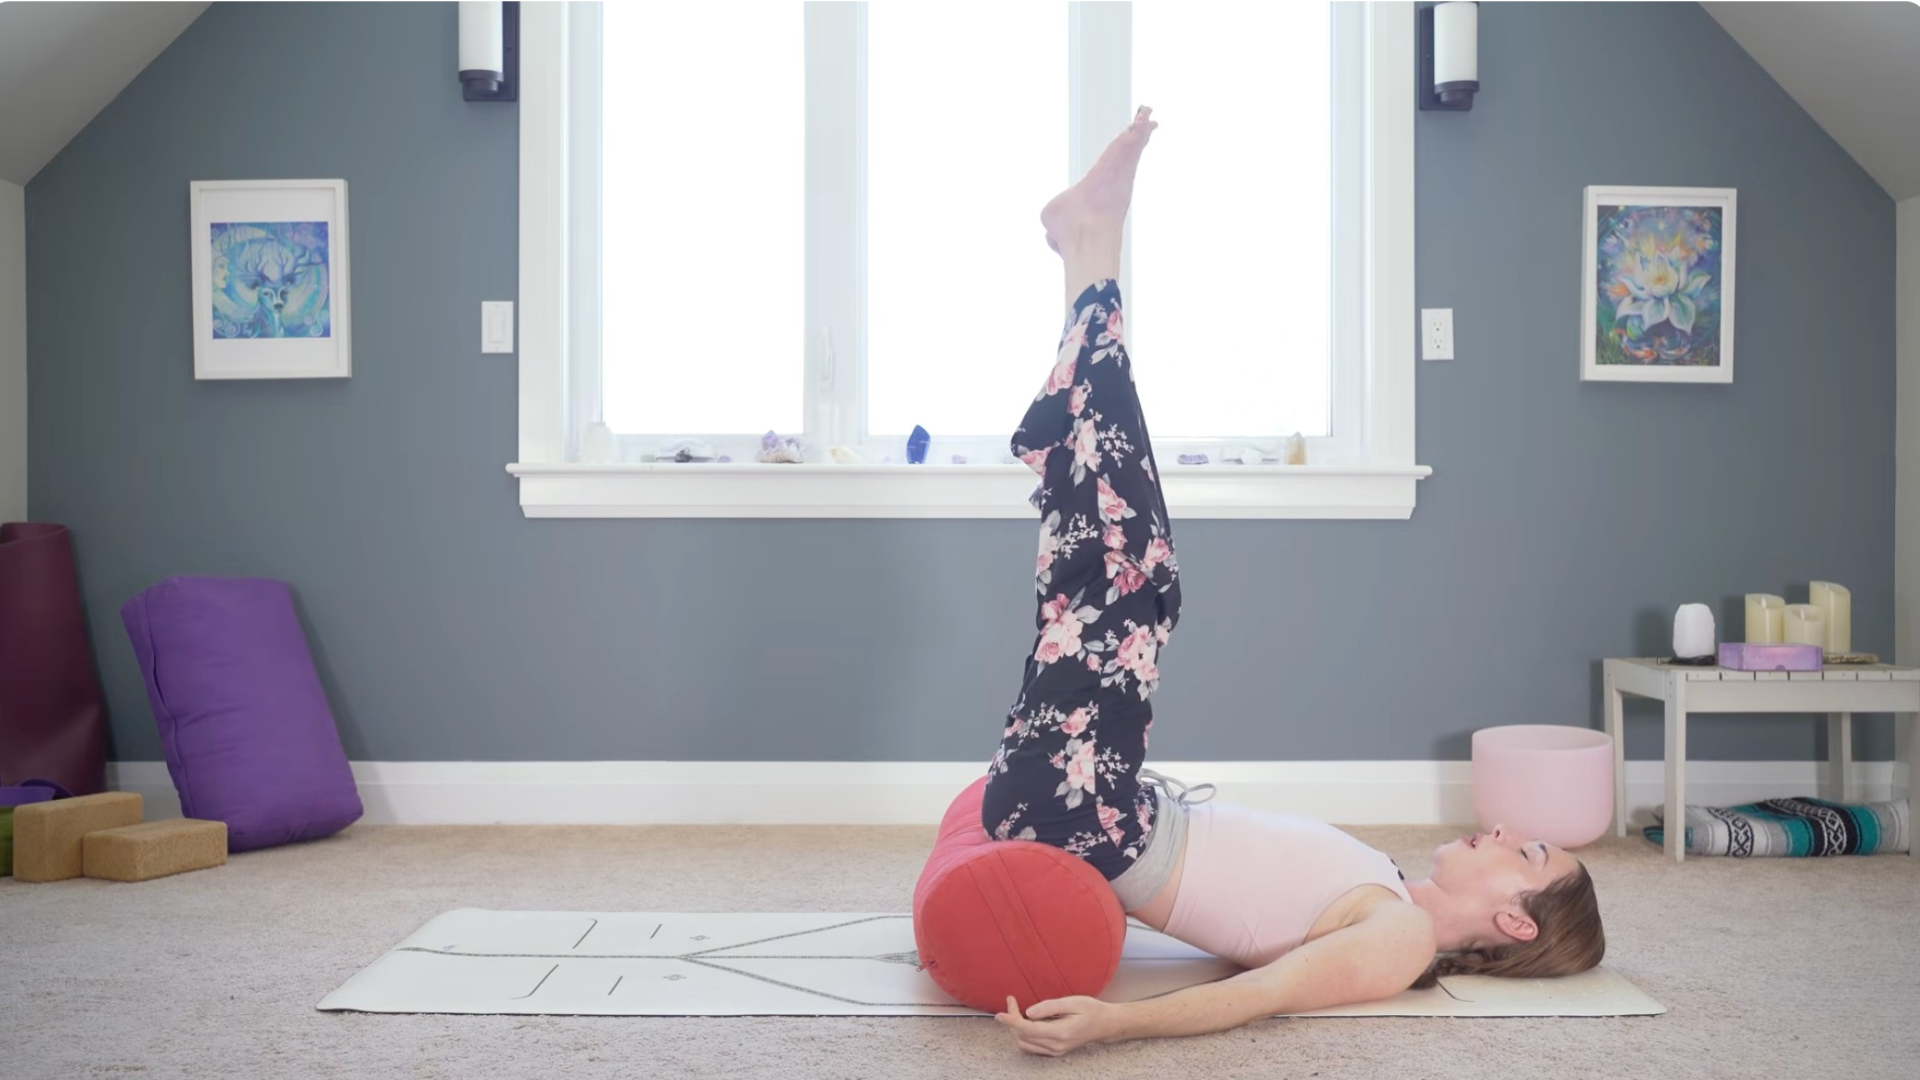
With your hips still on the support, hug your knees toward your chest or, if this feels a little compressive on your lower back, let your legs go straight toward the ceiling in Waterfall and maybe circle your ankles or flex and point your toes.
Reclined Hip Flexor Stretch
 (Photo: Yoga With Kassandra)
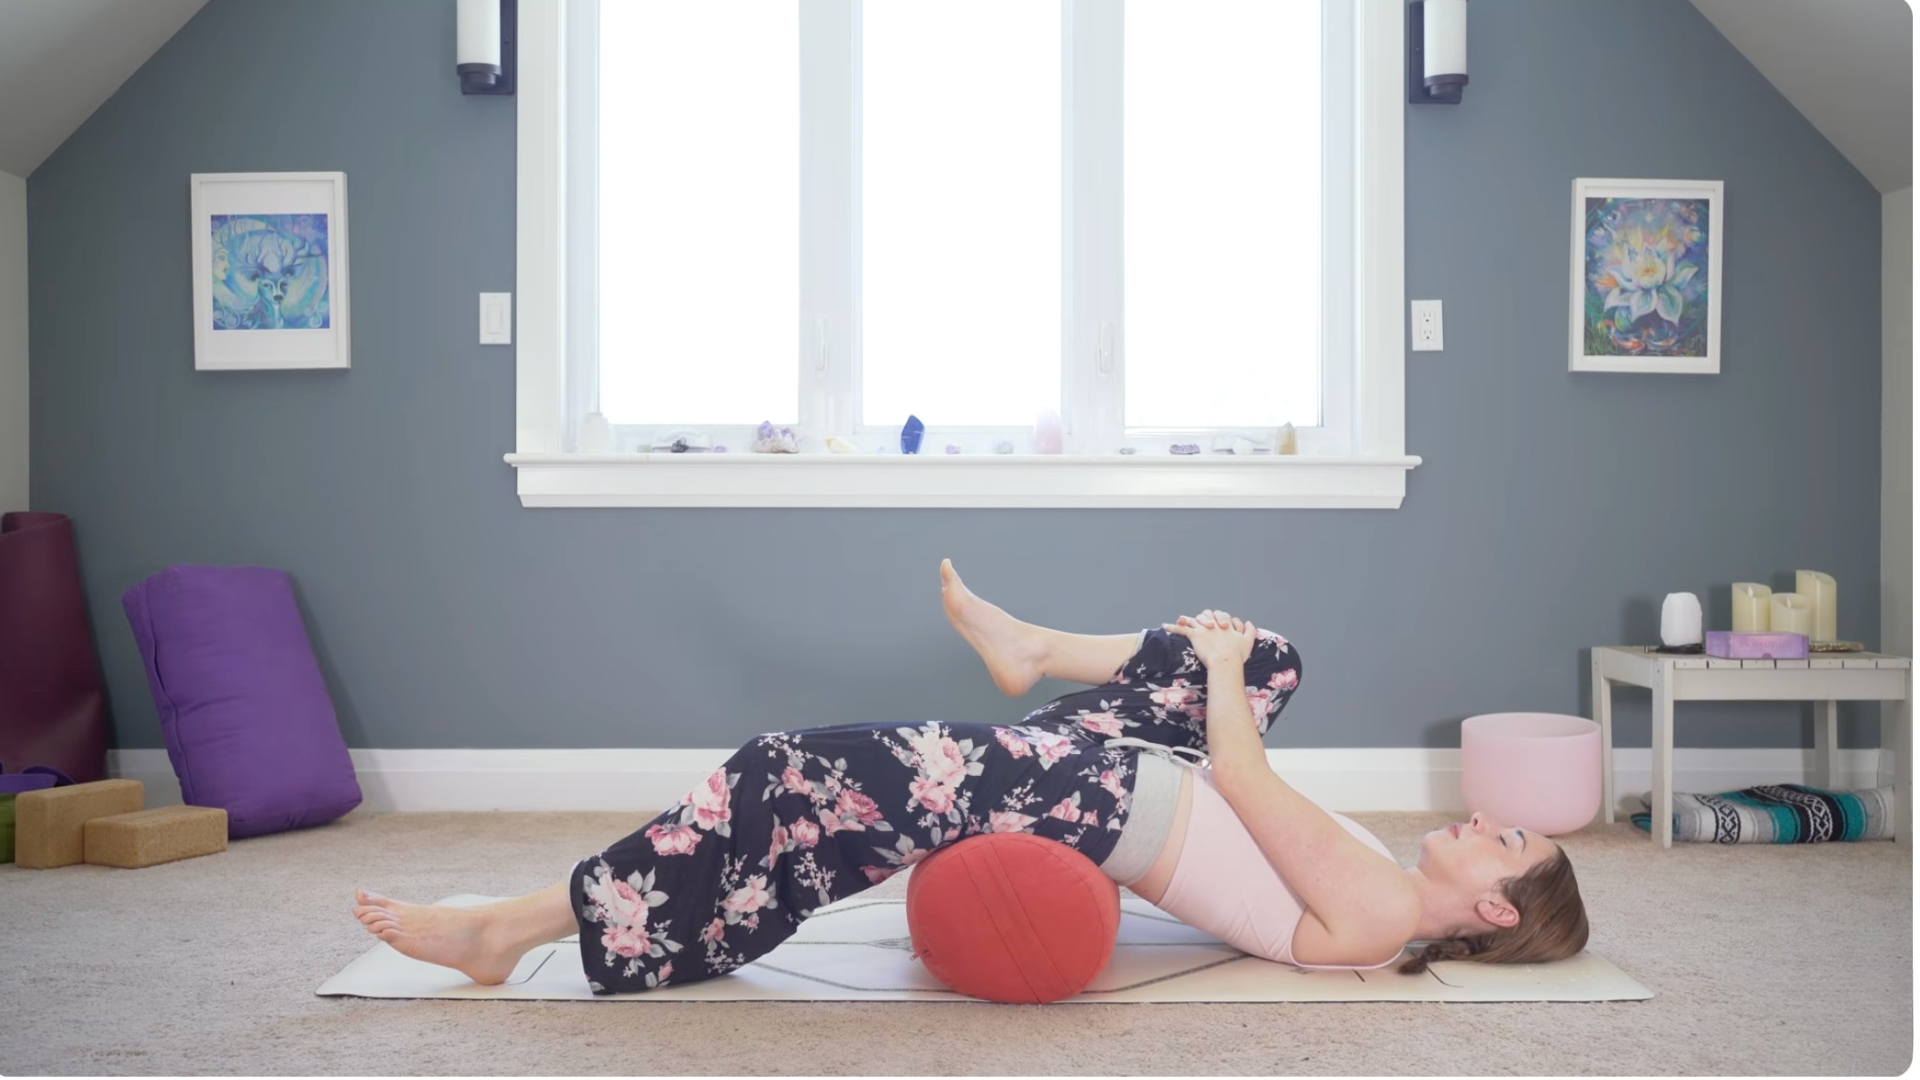
Wherever you are, bring your right knee toward your chest and straighten your left leg any amount that feels comfortable. Depending on the tightness of your hip flexors, sometimes your leg will hover off the mat, which is fine. You’re just looking for a nice opening along the front of your left hip and a little bit along your inner right thigh. You want to keep your arms relaxed and your head and shoulders heavy on the mat to make this stretch as passive as possible. Let go of any tightness or tension in your jaw, your facial muscles, your neck, and your shoulders. Stay here for a couple minutes.
Slowly ease your way to taking the stretch on the other side. It’s very normal for one side to feel completely different from the other.
Bring your right leg toward your chest like before for a few breaths, or if you prefer to extend your legs toward the sky again, do that. Then bring your feet back to the mat, lift your hips, and remove whatever prop you’re using from beneath you.
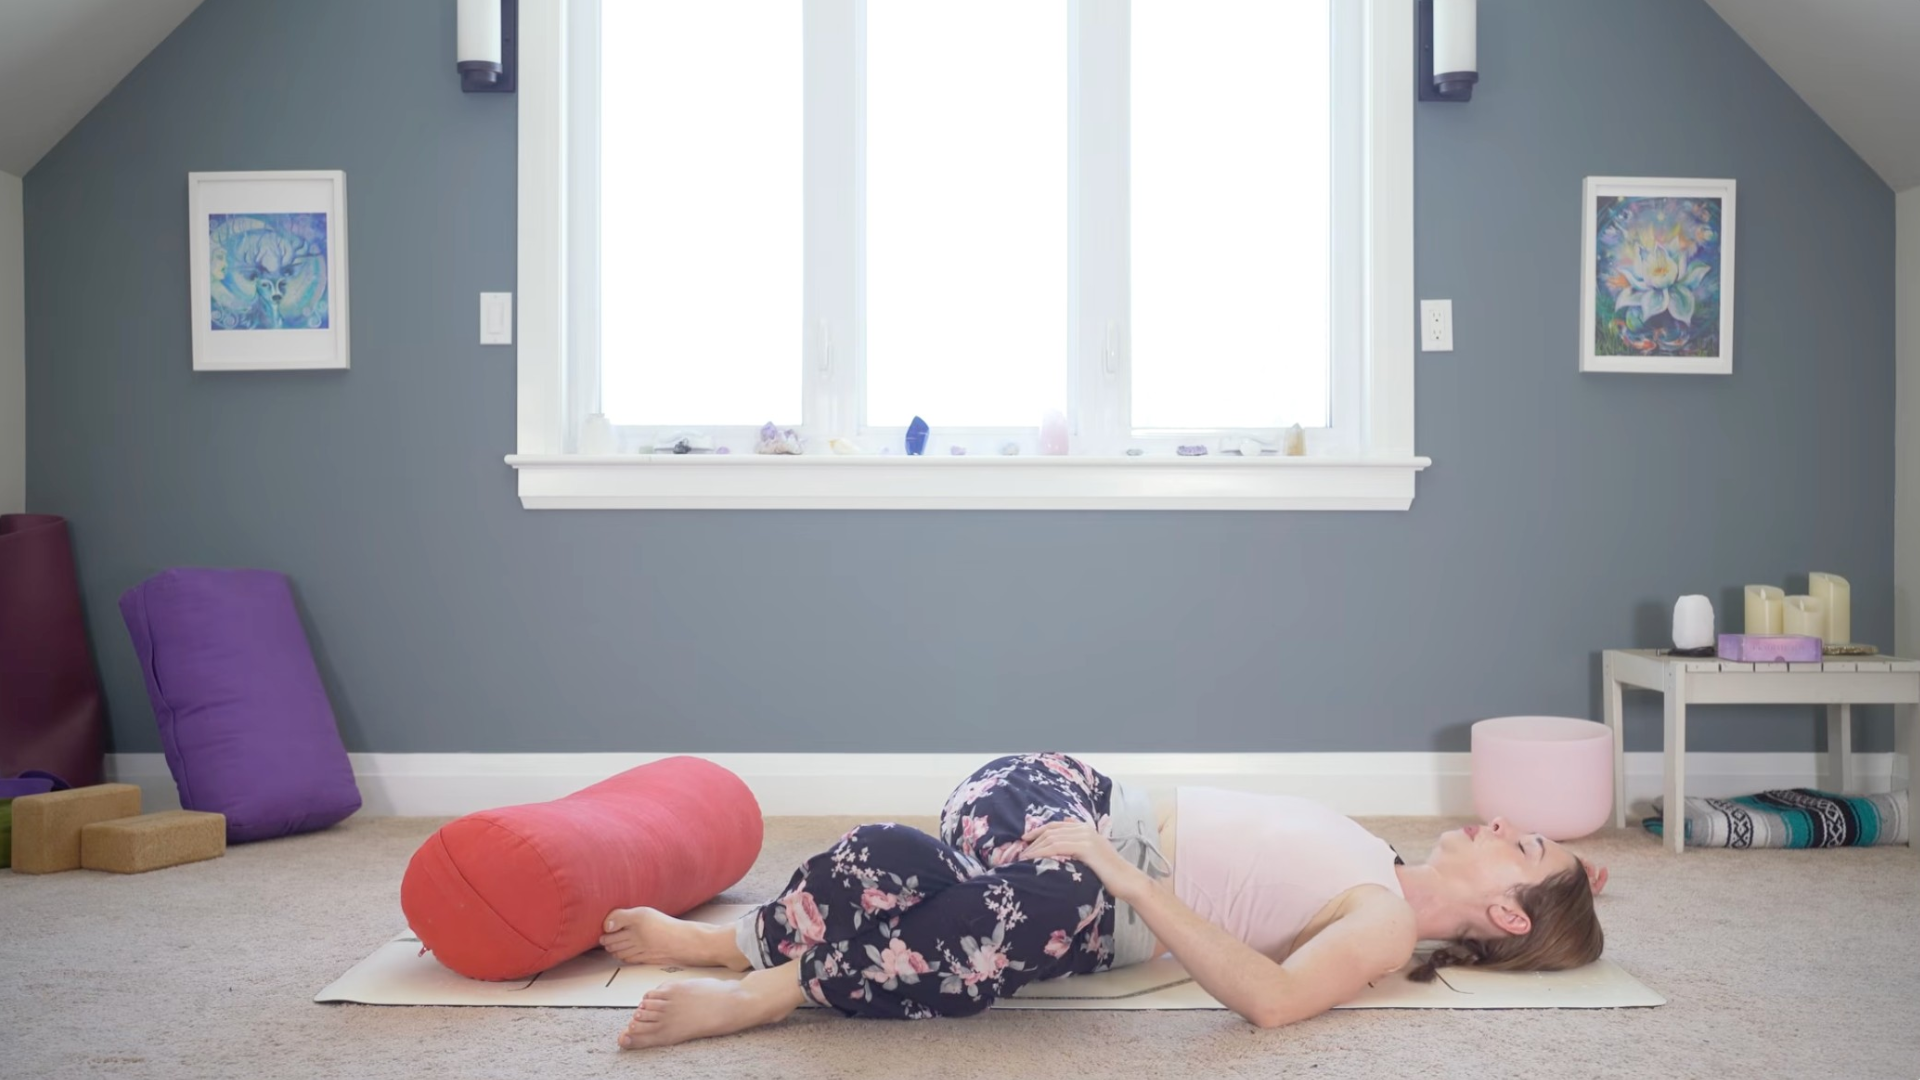
Reclined Twist
 (Photo: Yoga With Kassandra)
You might not need a prop for this yin yoga pose. Lying on your back, bend your elbows and take your arms into a little cactus shape. Lift your hips and shift them a little to the right, and then let both knees and thighs lower over toward the left. And you can use your left hand, if you’d like, to help guide that thigh down in a gentle spinal twist. Keep your collarbones facing the ceiling.
You can slide the props under your thigh for more support if that’s more comfortable. If you’d like to intensify this twist, you can always wrap your right thigh over your left one and then let the knees drop down. If this feels like too much sensation in your lower back or in your hips, ease out of the twist a little. Take slow, steady breaths as you stay here for a couple minutes.
Then slowly make your way back through center, move your hips a little toward the left, and lower your knees toward the right. Stay here for a couple minutes as you settle into your breath.
Slowly unwrap yourself from the twist and come back to center. Draw your knees toward your chest for a few breaths.
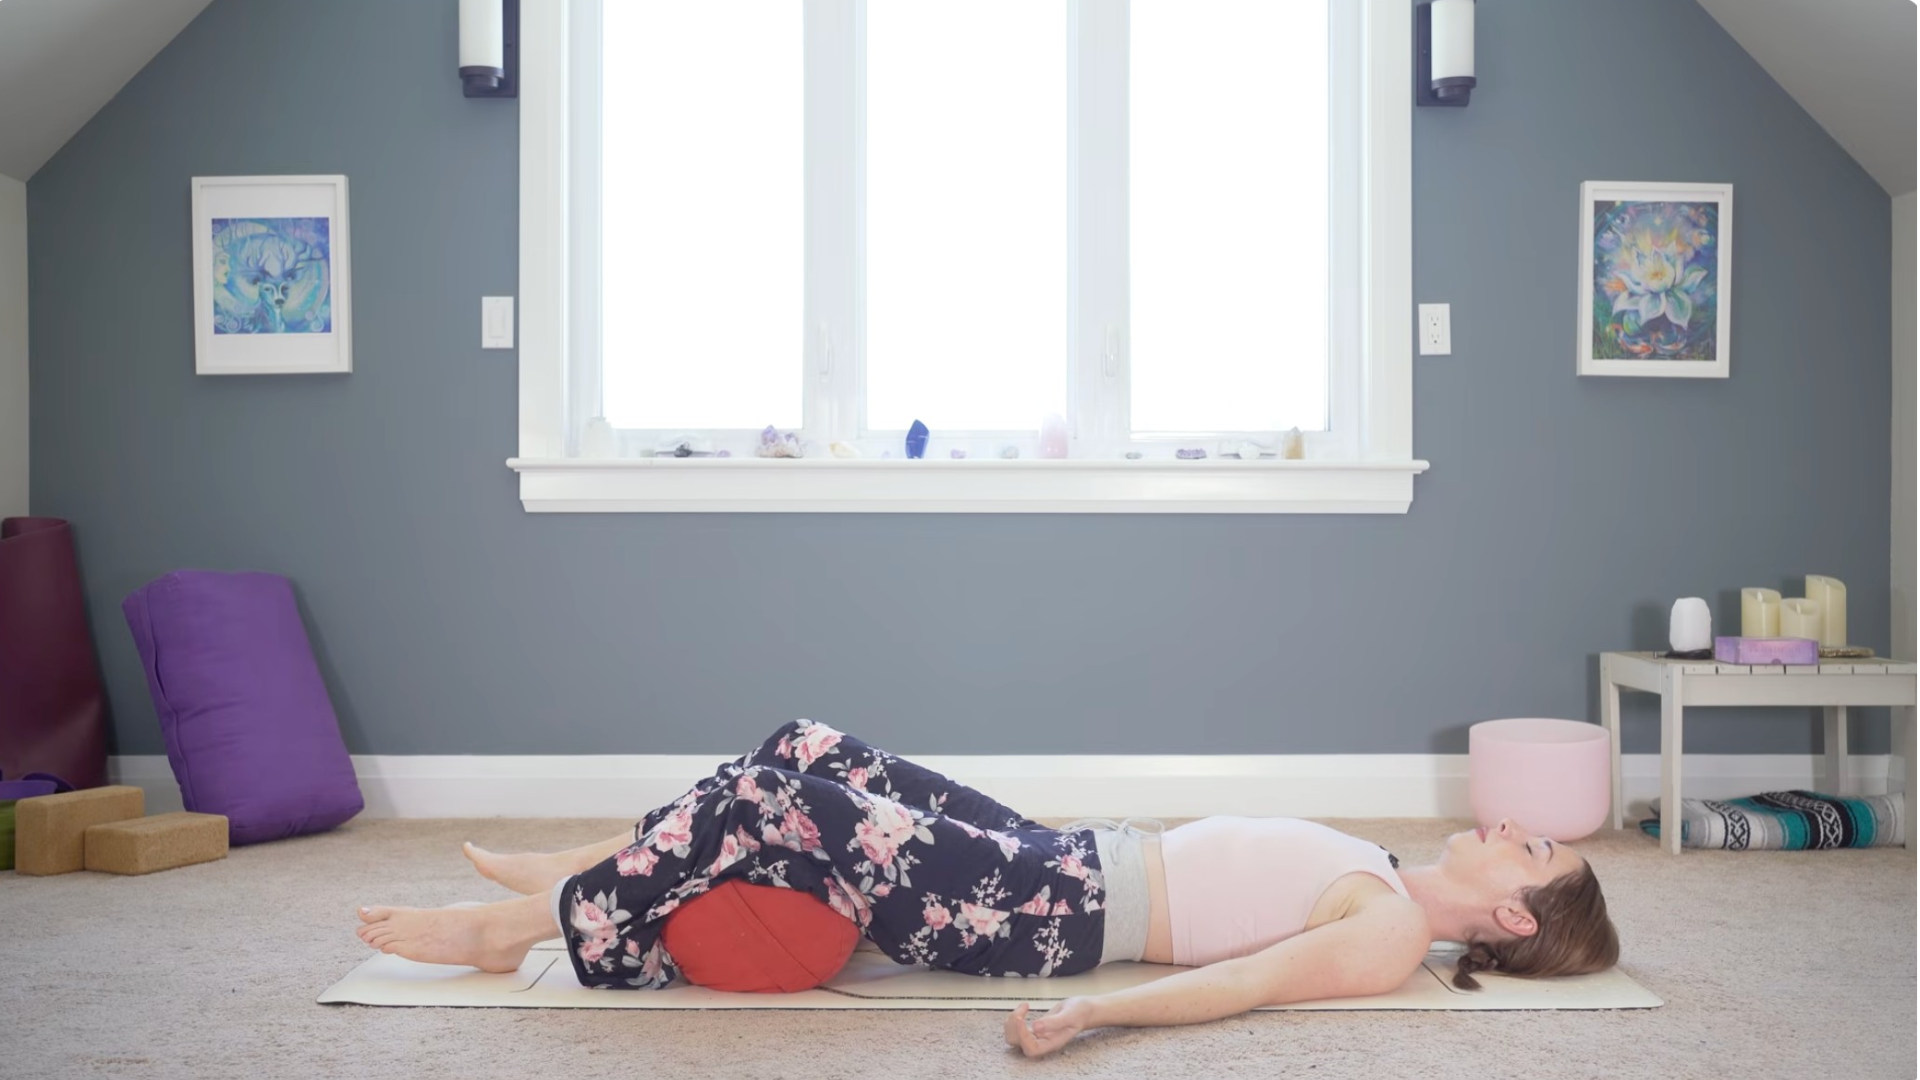
Savasana
 (Photo: Yoga With Kassandra)
Settle into your version of Savasana. Sometimes using a bolster beneath your knees for a little support can make this final pose more comfortable, especially if you feel tension or pinching in your lower back. You’re also welcome to stay completely flat on the mat.
Think of shrugging your shoulders down and away from your ears. Bring your palms facing up, letting yourself take up lots of space here and fully relaxing. There’s nothing to do, nowhere to be. Whenever you notice your mind wandering, you can just acknowledge it and not make a big deal out of it. Instead, focus on the flow of your breath or on any sensations in the body. Sometimes choosing an affirmation, a mantra, or a word to repeat internally can help us maintain our concentration and our focus inward. You could try, “I am calm,” “I am relaxed,” “I am at peace,” or whatever you want to feel. You’ll stay here for a few minutes or you can use this space to try to let yourself fall asleep.
Closing
If you’re coming out of Savasana, start to deepen your breath. Then start to move a little, just enough to slowly wake yourself. Maybe you stretch your arms overhead. I’m going to turn onto one side and push the bolster out of the way.
When you’re ready, slowly take a seat and sit up tall. You can bring your hands together in the front of the heart or rest them on your thighs. Close your eyes and take a moment to observe how you feel now, noticing what has changed, what feels different, as a result of your practice. Stay here as long as you like.
Thank you so much for practicing this yin yoga for exhaustion class with me.
Ref: https://www.yogajournal.com/practice/yin-yoga-for-exhaustion/